A good friend of mine recently had their HP Envy x360 fan die on them – which kind of sucks since the system won’t actually boot past the post screen warning of fan malfunction. Cause looks to be burn-out – a combination of heavy dust and an impact on the bottom led to a jam.
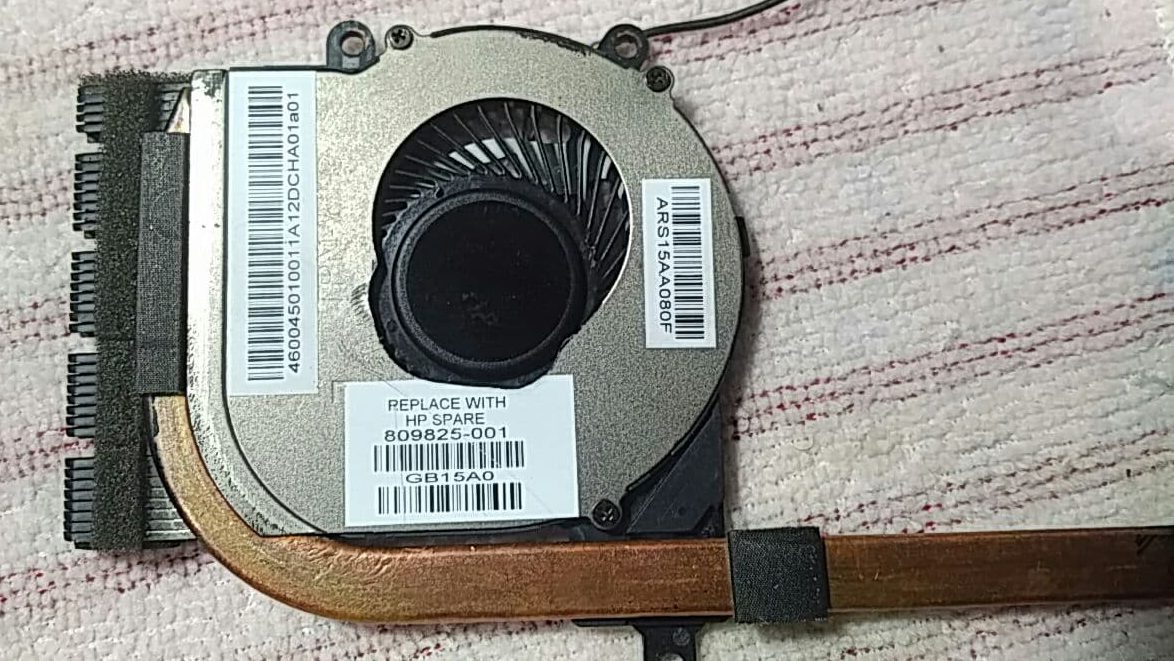
Thankfully HP provides spares, and goes through the effort of labeling everything with an ‘HP Spare’ part label.
Now here’s the kicker – the lad goes out and gets the wrong fan.
Not just the wrong enclosure, but wrong dimension and connector as well.

Normally this is the point where most technicians would acknowledge the part incompatibility and purchase a new one, but we were both feeling a little… experimental.
And that’s where this story begins – a tale of how I Frankenstein together a completely illegitimate HP Spare 809825-001 laptop fan.
What are we working with?
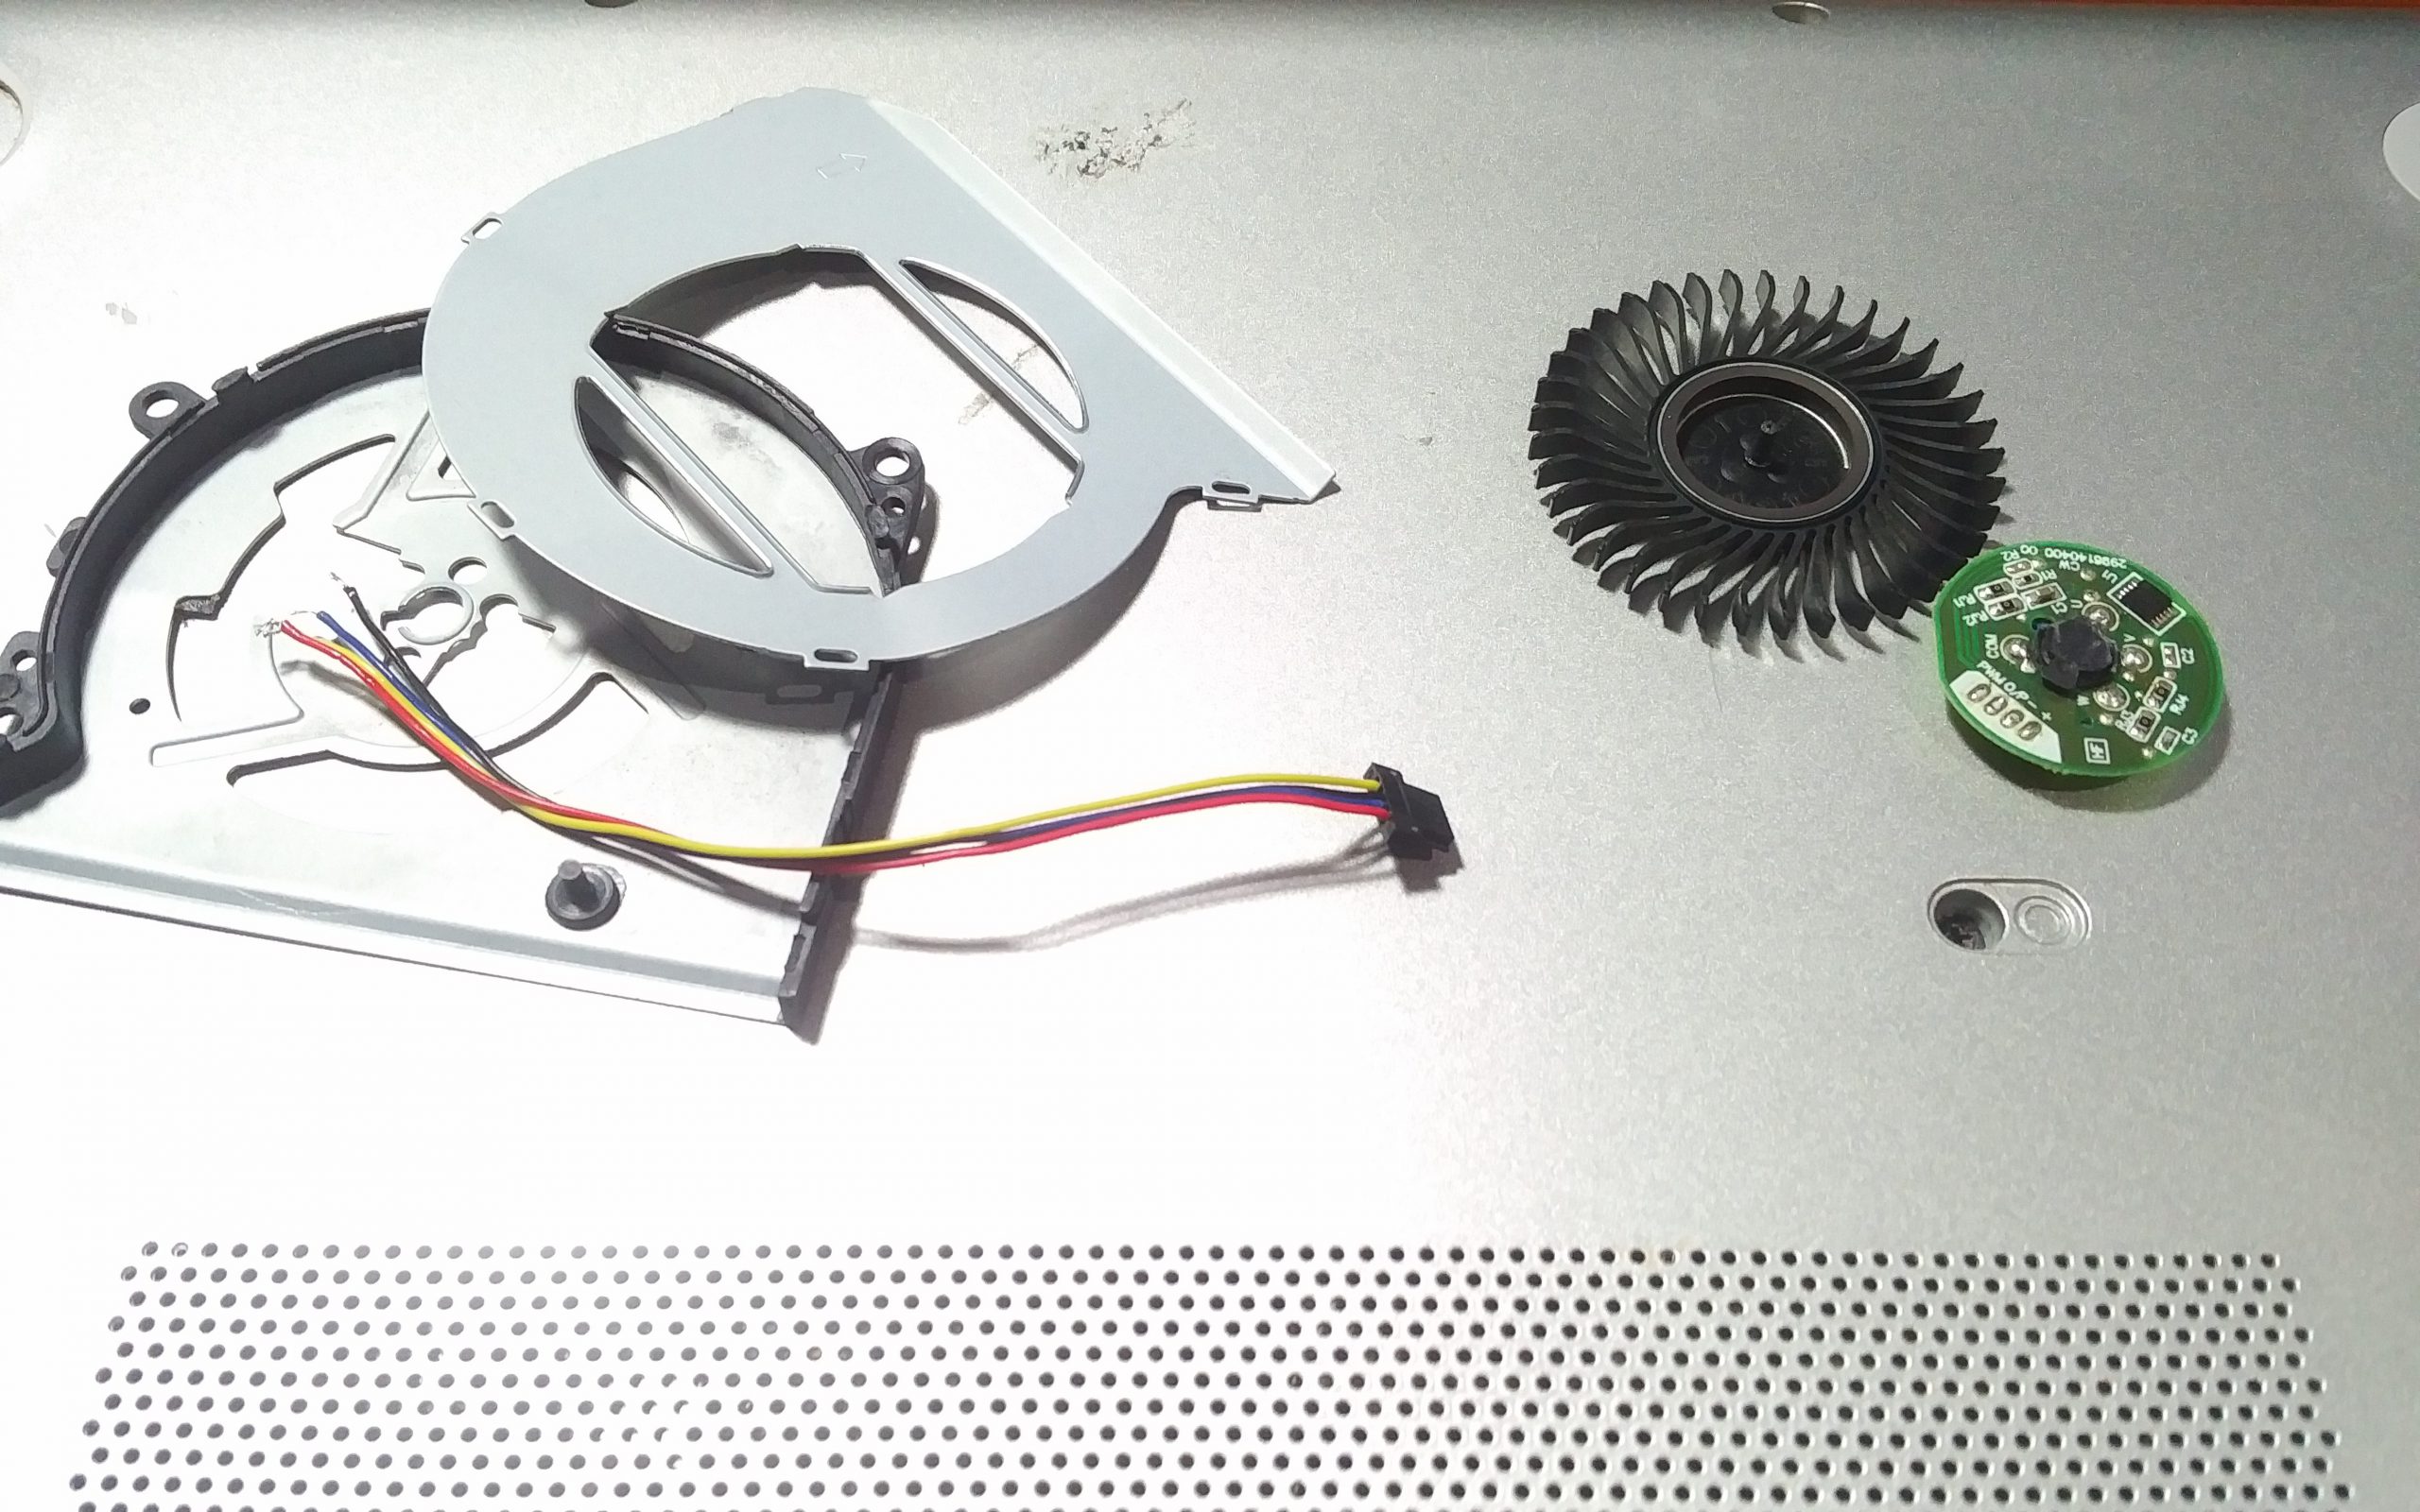
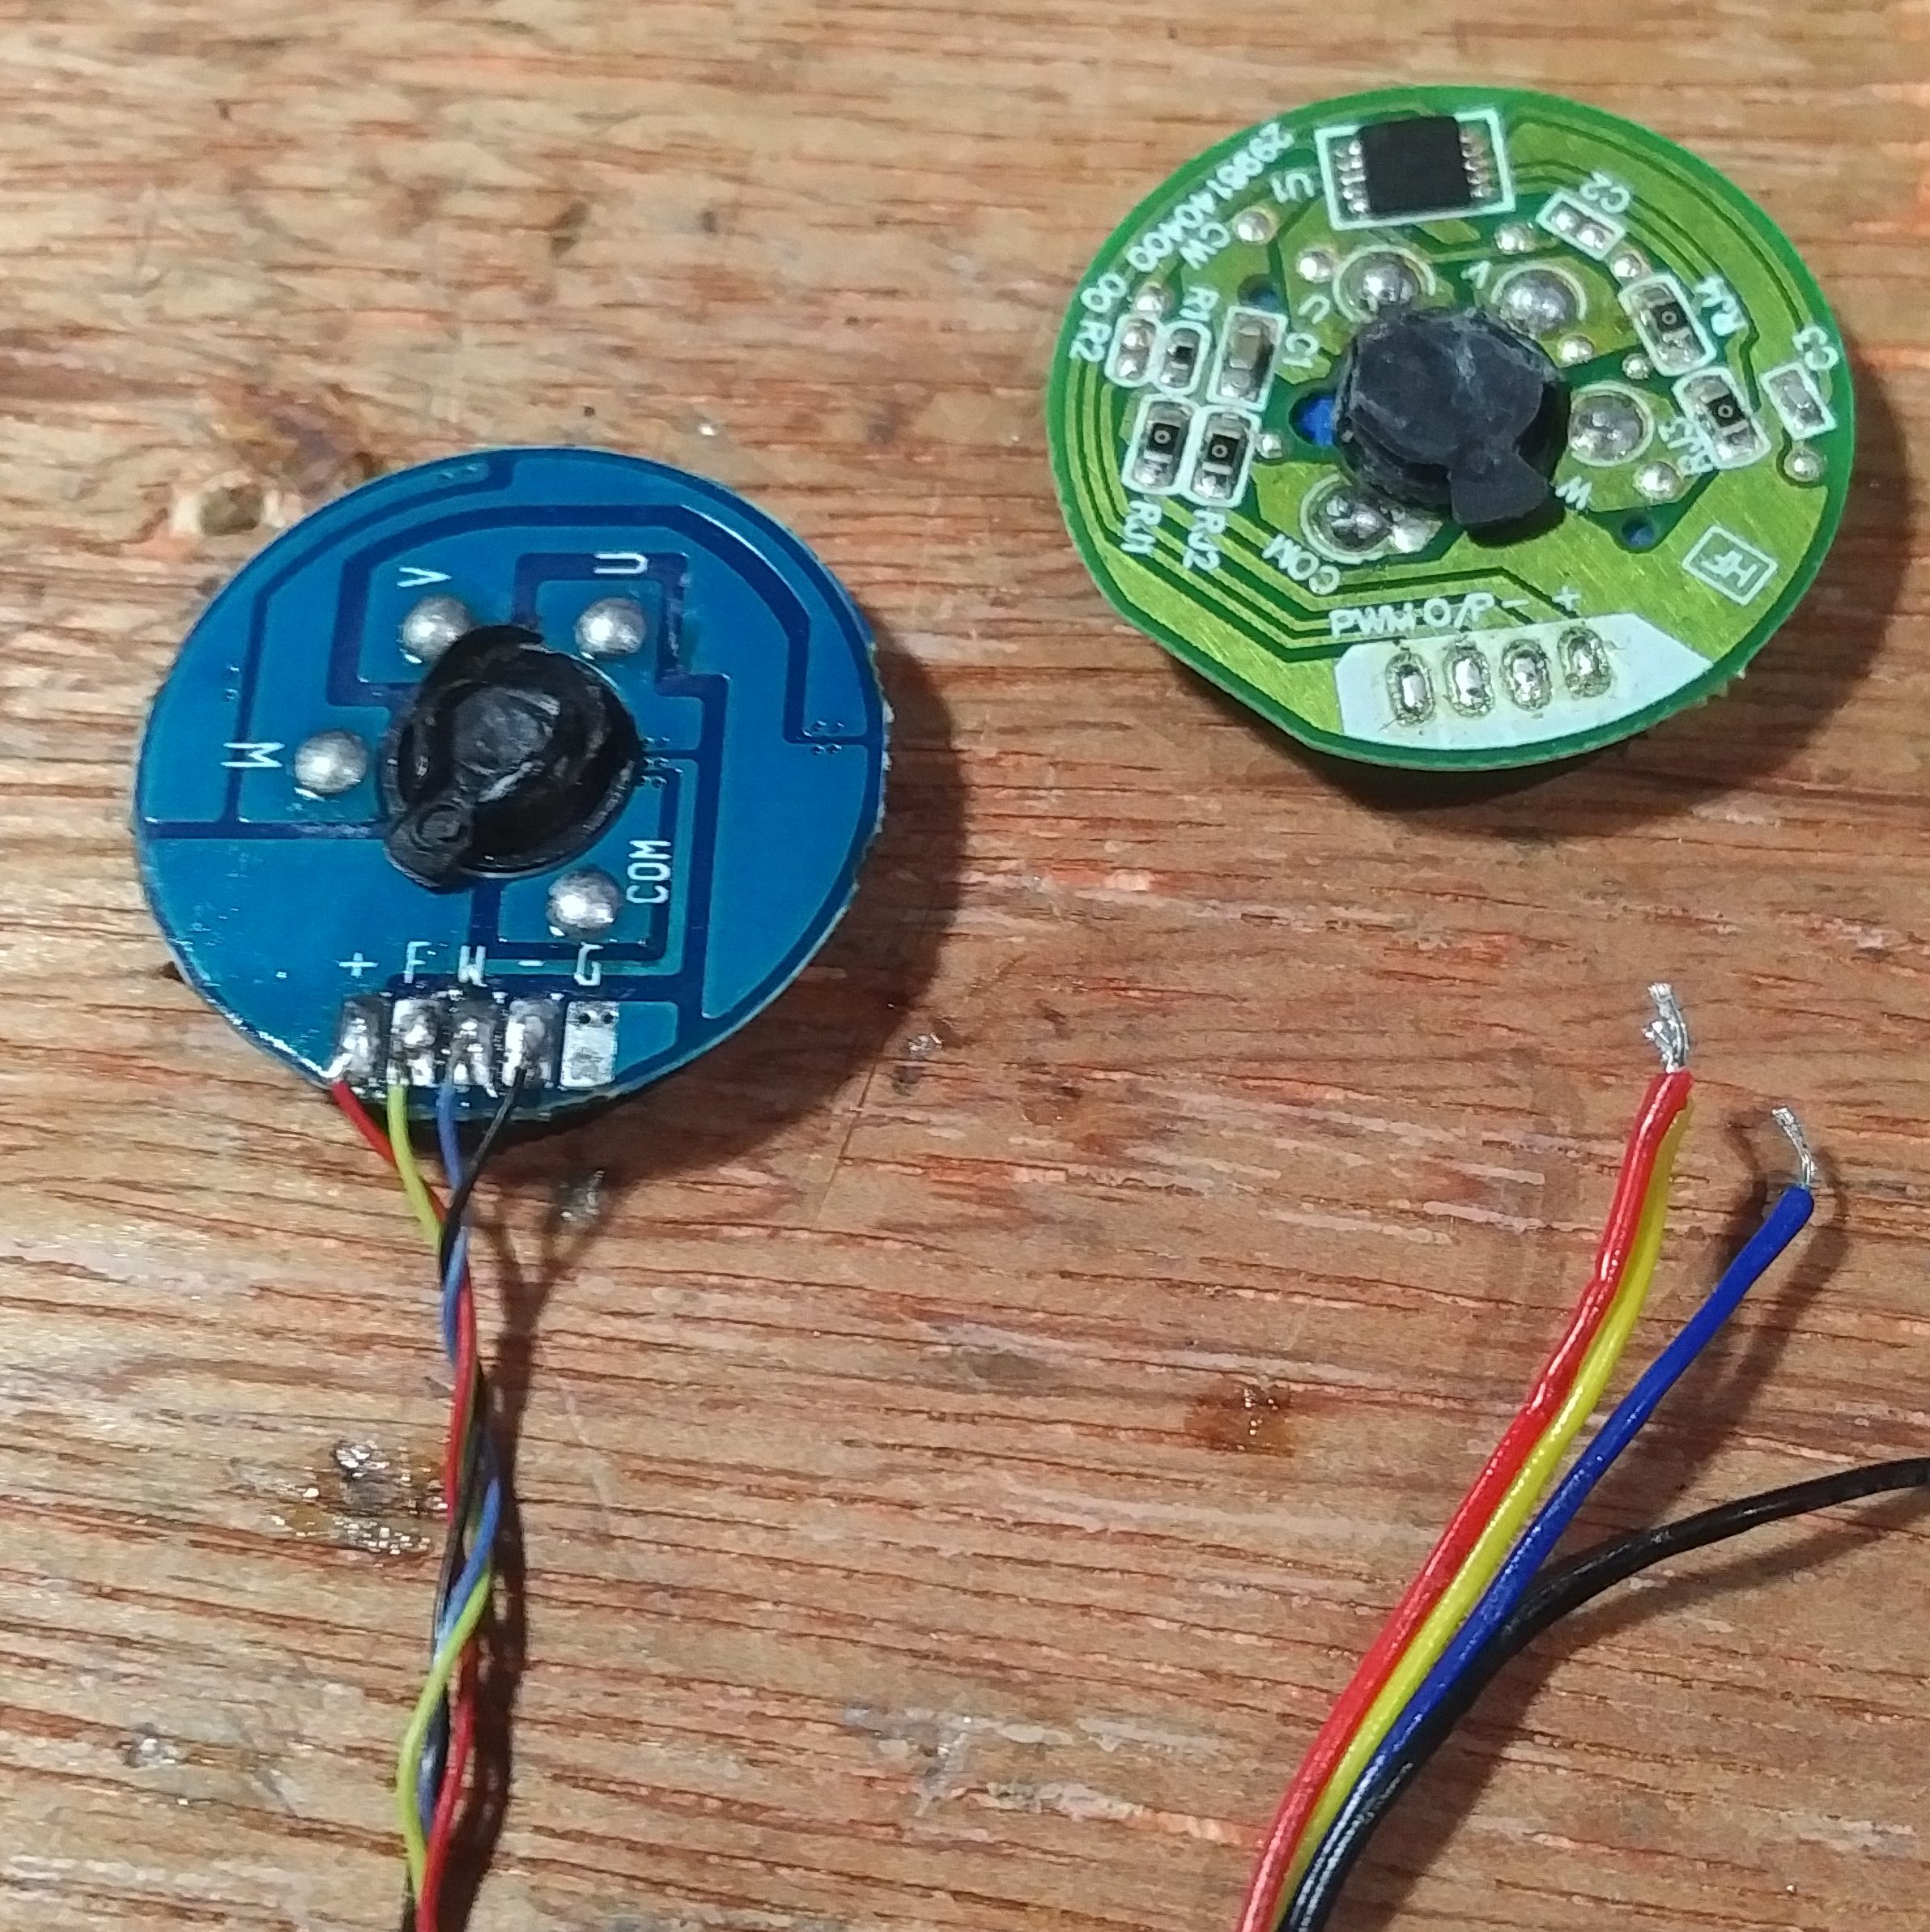
The only commonality between the two fans is that they’re 5V 0.5A, brush-less. While both are 4-pin, they’re wired differently and with a different connector. Form factor of their enclosures is very different, no room here for negotiation. In addition, the propeller for the new fan is significantly larger than the old one.
All in all, my goals are to swap all the components from the new fan (minus the housing and connector cable), with the old fan.
Key things I’ll need to keep track of are:
- Old fan tear-down
- Neat tear-down of the old fan, since we’ll be re-using its housing
- De-soldering of the old fan’s 4-wire cable
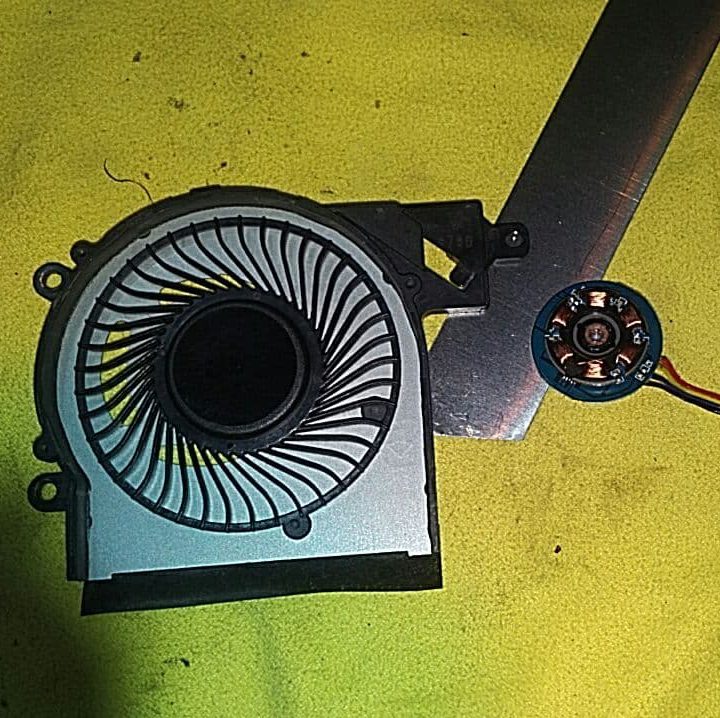
- New fan tear-down
- Neat tear-down of the new fan, don’t want to damage the motor
- De-soldering of the new fan’s 4-wire cable
- Fan-kenstein
- Soldering of the old 4-wire cable to new brush-less fan motor
- Securing new brush-less motor in old fan housing
- Accommodating new fan propeller dimension in old fan housing
- Re-assembly
Lay of the land
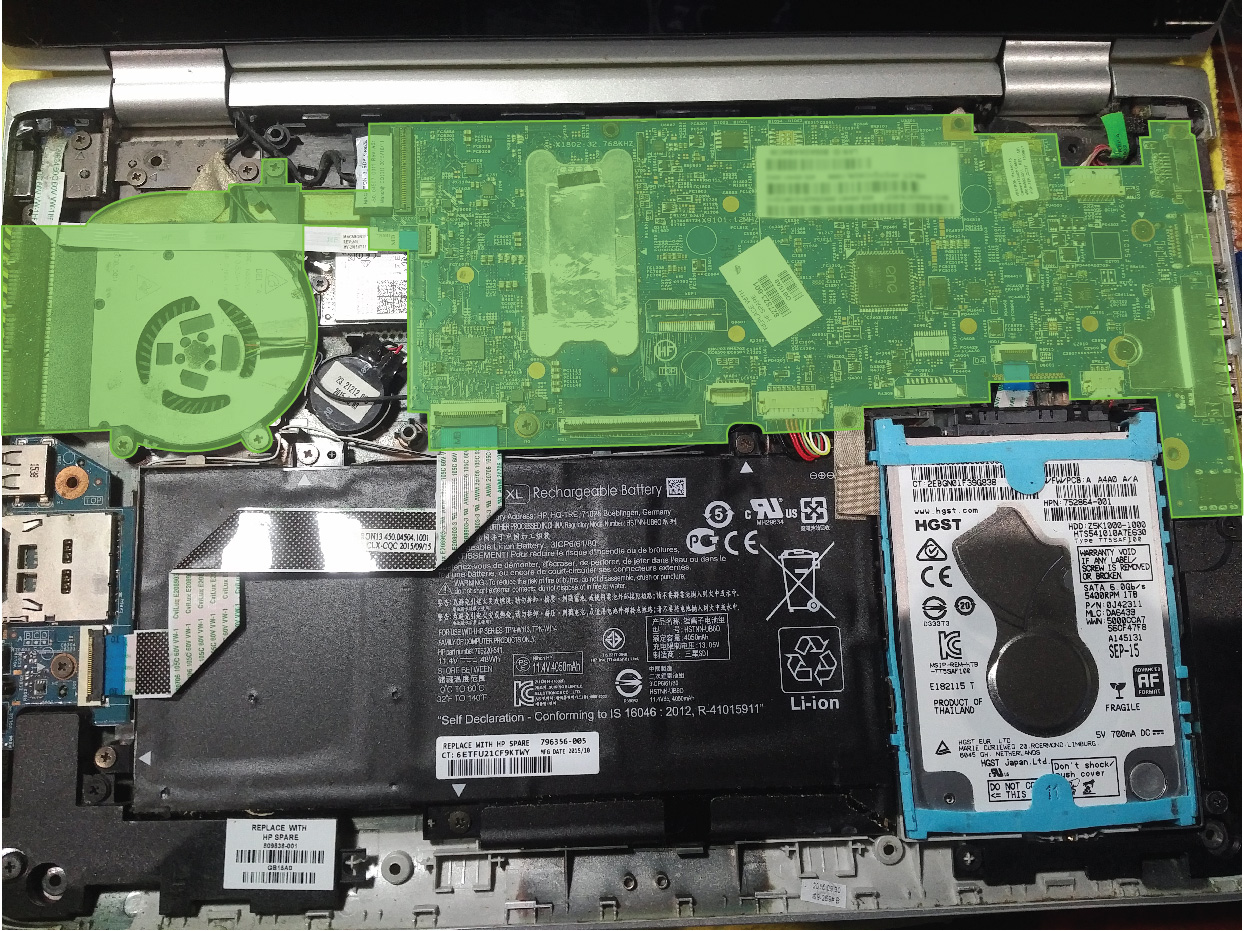
First step is to get at just the fan assembly. To do so I had to remove the top keyboard assembly covering the system above, then remove the green highlighted assembly altogether. The fan is held onto the heat pipe with a plastic clip, and black tape serving as a dust shield.
Tear-downs
Extracting parts from both fan assemblies wasn’t too bad. The new one used plastic rivets which were destroyed in the disassembly but don’t matter since we only care about re-using the old assembly.
The column where the propeller spindle rests in was press-fit into both assemblies. Heating that area with a heat gun helped soften the plastic enough so that I could push the motor assembly out of the housing.

First impressions of both open assemblies – I’ll either have to mount the new motor in the same location and cut the fan smaller, or move the mount to the center of the housing, and dremel that.
Either way, both motors were removed from their respective housings and their wiring swapped.
Fan-kenstein
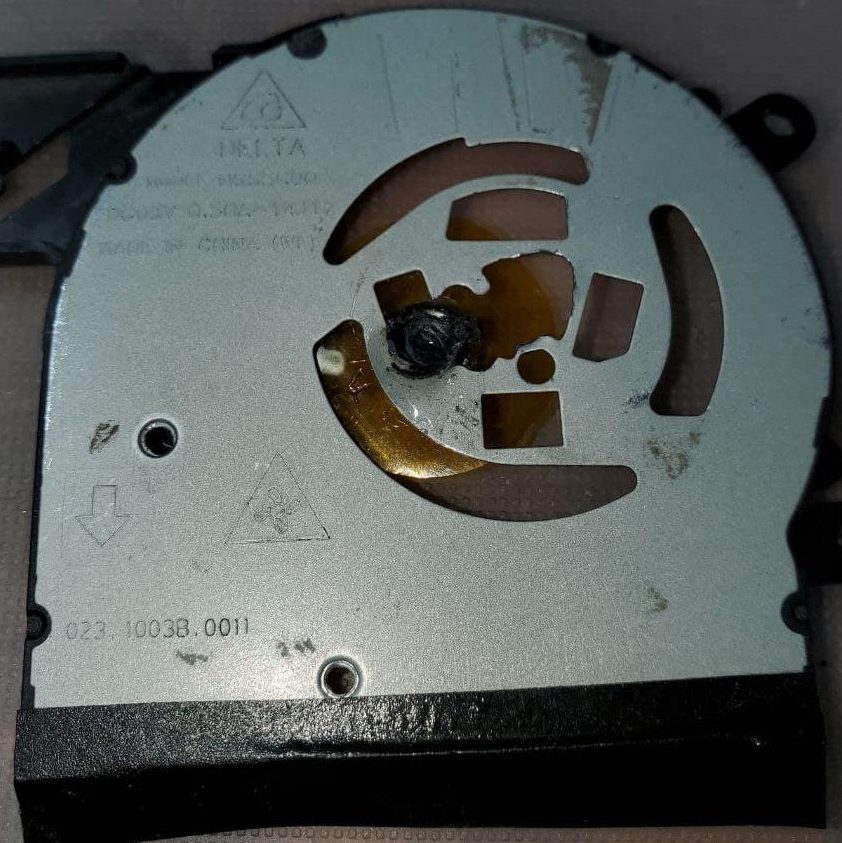
The one thing they never tell you about these laptop fan assemblies… the motors are press-fitted.
Actually, let’s be more specific. Looking at the above figures, we can see the rear of each motor unit and a plastic extrusion. That extrusion is press-fitted in a particular contour of its housing. The fan propeller’s spindle fits into here, with this piece sitting in the center of the motor.
To secure the new fan assembly in the old housing, I had to dremel a hole in the housing, along with stand-offs which would hit the fan propeller. Holding this piece is strong epoxy. The motor would then rest on the yellow plastic circle.

Centering and securing the motor assembly wasn’t bad, and once secured, the fan propeller fits without issue. At this point we’ve got something just like this. All that’s left is to secure this housing to its other half.
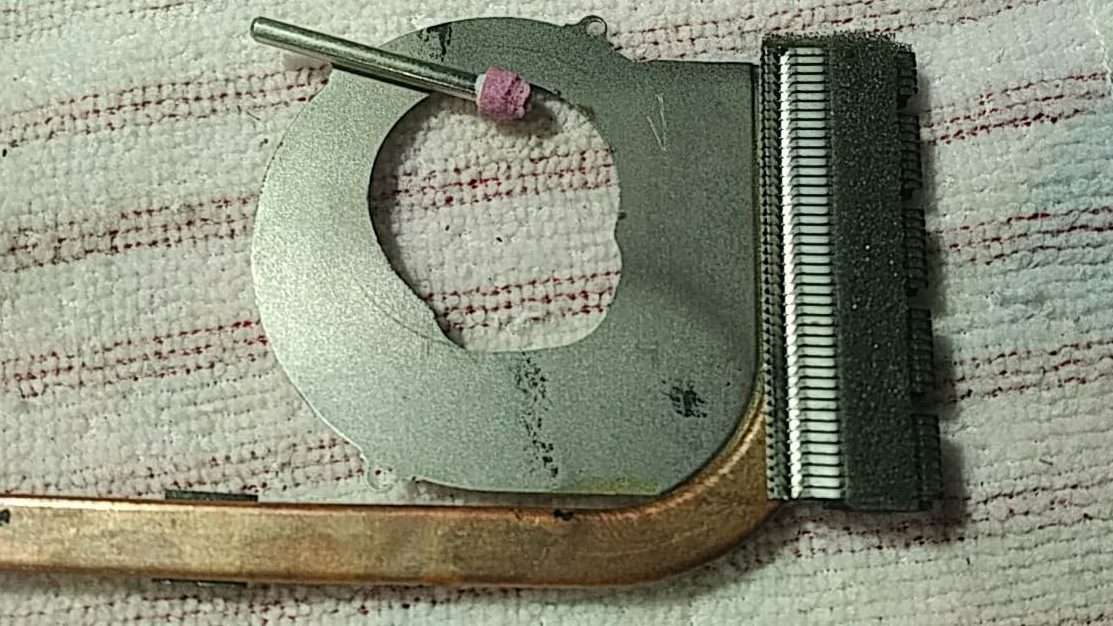
That other half just so happens to be a part of the heat pipe assembly.
A part which does not fit the new clearance required for the fan propeller.
Yes, we whip out the dremel once more.
I found it helped to sharpie out the area I need to clear, that way I’m not removing excess.
Once dremelled, the rest of the heat pipe and fan re-assembly went well. Reattachment was done with just 3 screws. I made sure to check for free fan movement before completing re-assembly of the machine.
Reflection
And there we go, that concludes the story of how we made an illegitimate HP Spare fan for the HP Envy x360 using a fan that definitely did not belong in this laptop.
A few things that if done again (which if I do, know I’m being held against my will):
- Find a more secure and long-lasting way to hold the motor to the housing. The epoxy solution I used was pretty strong, and the unit should be protected from impact thanks to the rear laptop cover, but if it ever takes a direct hit I fear it can dislodge the epoxy.
- Use a smaller fan, or cut the propeller down. There wasn’t much clearance left in the housing for airflow/dust.
- Use the proper dremel tool. Grinding heads aren’t made for removing that much material, and mine really wore out.