Over the past few years I’ve accepted that if a screen replacement doesn’t require a tear-down of the entire laptop chassis, then it just requires a tear-down of the entire top portion of a laptop chassis.
The HP 17-by3063st has changed my mind.
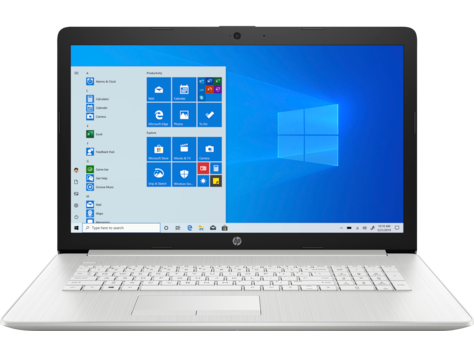
I won’t be discussing this laptop in too much detail here, those who’ve already heard my spiel on modern laptop make/models know how much I abhor consumer models over their business tier counterparts.
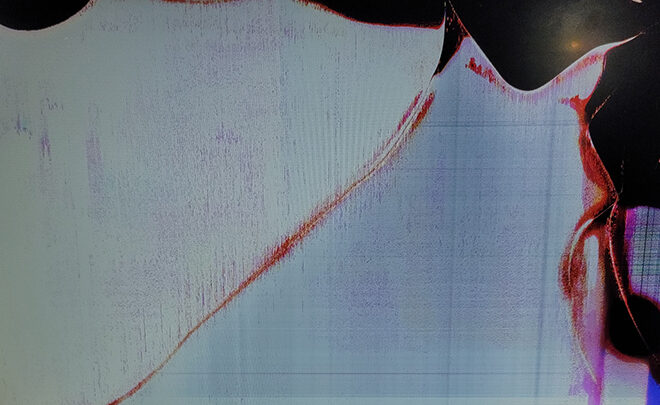
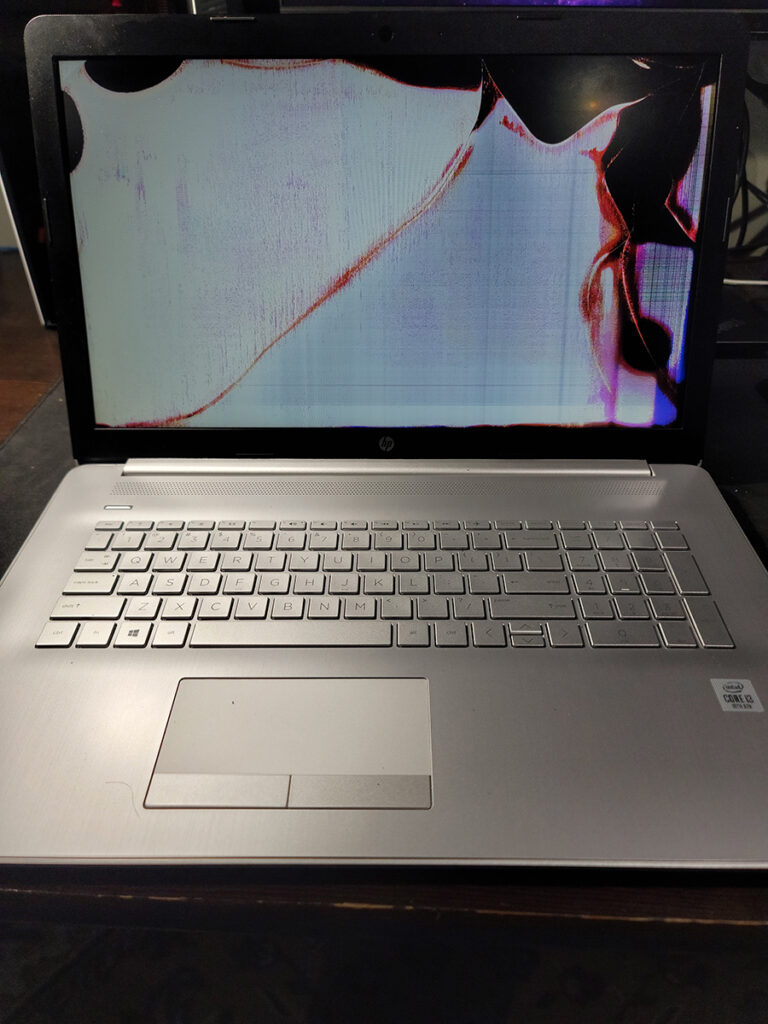
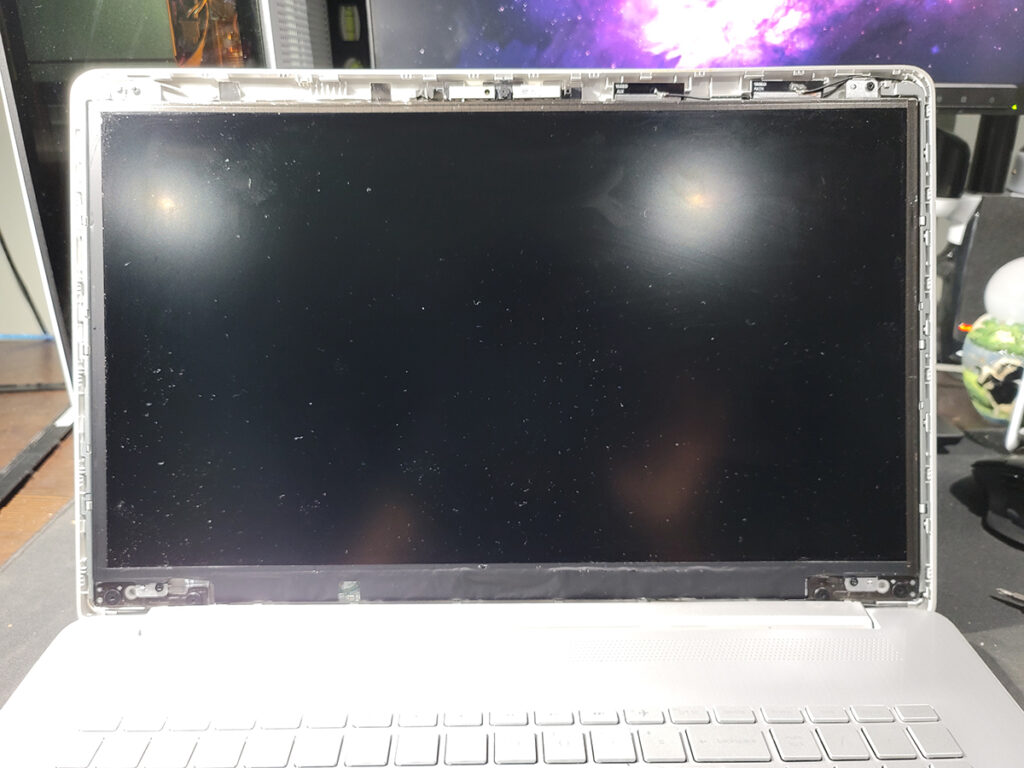
For now, let’s look into why it was surprisingly easy to change the broken LCD display panel on this laptop.
It’s all clips
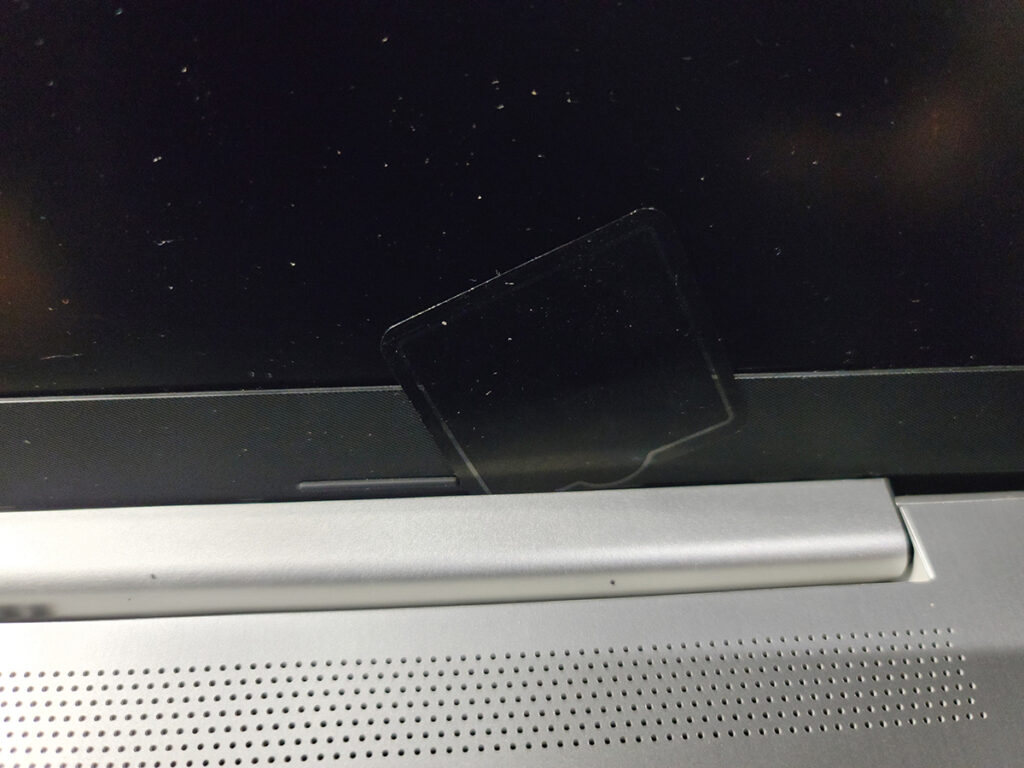
The front display bezel is held in place to the rest of the top chassis with plastic clips. They’re engineered in such a way that levering the bezel by prying it upwards from within the frame releases the clips. To do so I typically use a plastic spacer, but guitar picks work great and can often be found in bulk on eBay for pretty cheap.
The challenging part came from removing the lower half of the bezel which was behind a plastic hinge cover.
A lot of tear-down documentation for <17 models involved a tear-down of the lower chassis to release the hinge from the frame so that the top assembly can be removed, and along with it this hinge cover.
However, this too is held together by clips! What are the odds.
Similar to the bezel, you can insert a plastic spacer between the hinge and the front display hinge, prying the hinge cover in the direction the display is facing.
Two things to note;
- It won’t come off completely, so don’t try it.
- Be weary of pushing your plastic spacer too deep – it’s not necessary to release this hinge cover, and you’ll risk damaging the display ribbon cable
Once off, you can remove the two screws at the top and two at the bottom, ignoring the large flat-head hinge screws.
The display panel will then freely drop off, with the ribbon cable plugged into the lower right portion.
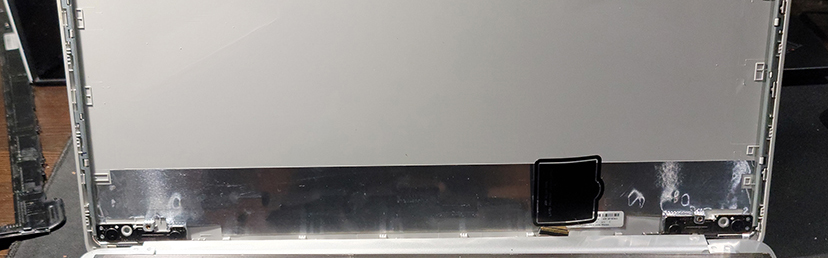
Holding the ribbon cable in place with my plastic spacer, I got my replacement panel, inserted the ribbon cable, and re-assembled the HP 17, performing everything above but in reverse.
Re-seating the bezel and hinge cover wasn’t too difficult, I’d just recommend you start with ensuring all sides of the bezel are inserted and sit flush with the rest of the front assembly, and that there are no gaps between the display and bezel.
All in all, wasn’t too difficult of a replacement.
To the owner of this laptop, I hope you find this useful.